
How to Store Meal Prep to Keep It Fresh All Week
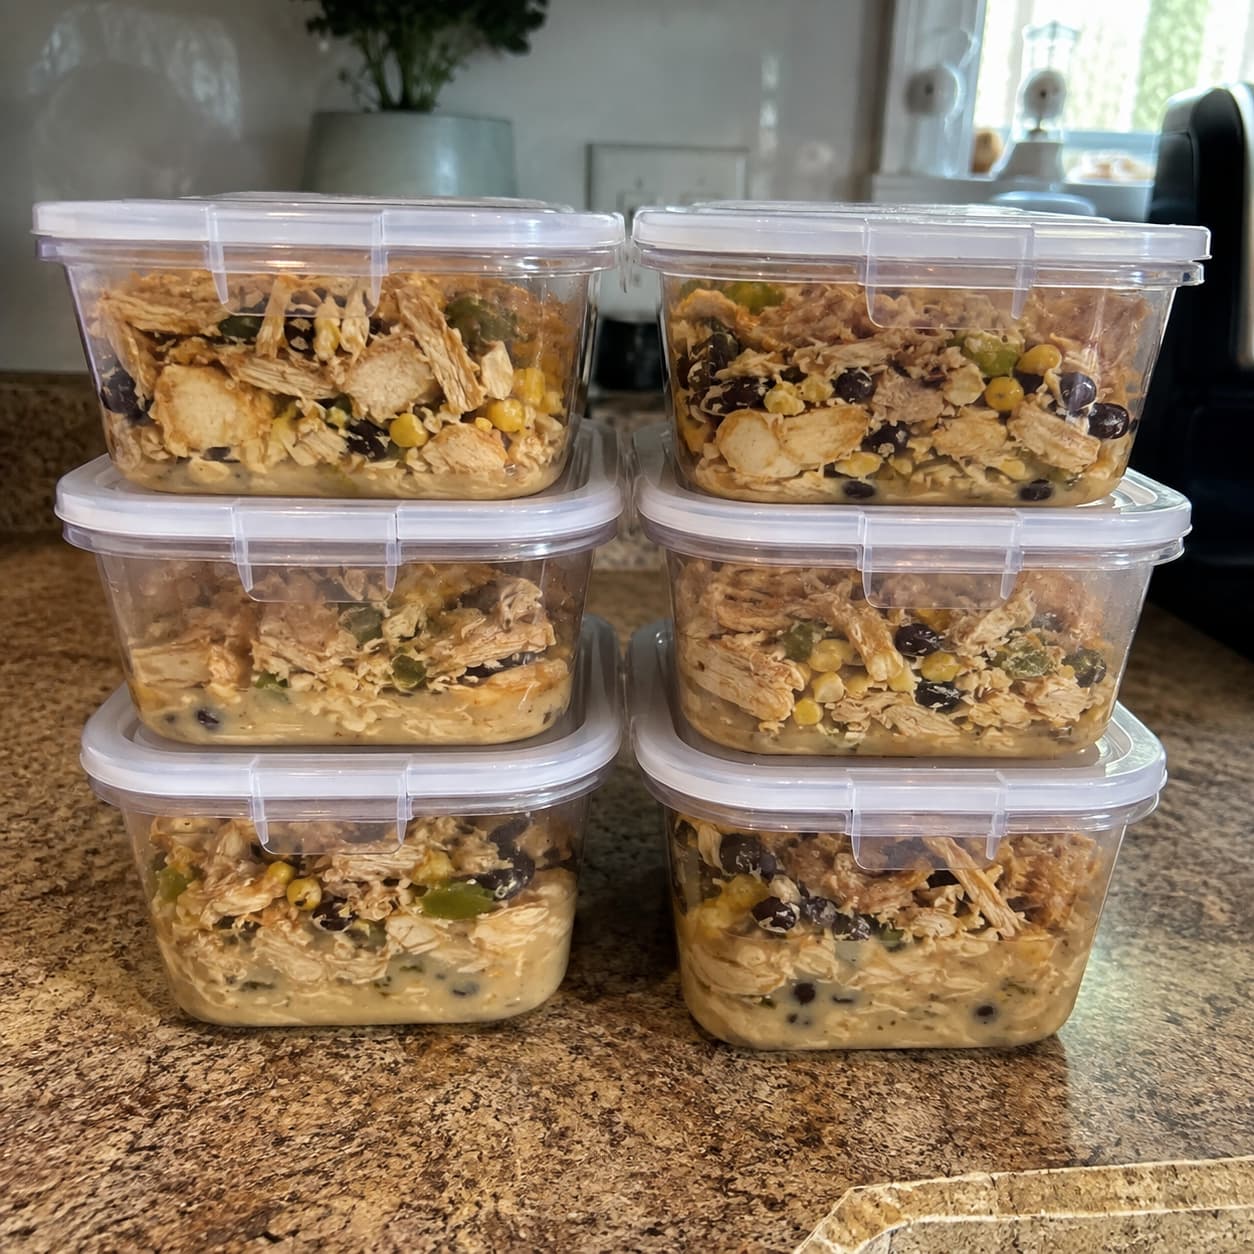
The difference between a container that’s still good Thursday and one that’s gone watery, sour, or forgotten in the back of the fridge usually isn’t the container. It’s what happened in the twenty minutes right after cooking, before any lid went on. Sealing food while it’s still hot traps steam, and that steam becomes the condensation that waters down sauce, softens anything meant to stay crisp, and — in the case of rice specifically — can give bacteria that survive cooking a window to start multiplying before the fridge gets a chance to slow them down.
None of this needs new containers or a bigger fridge. It needs a sequence: cool it the right way, portion it before it’s fully cold, label it honestly, and know which four days actually count. Here’s the version that holds up.
At a Glance
| Time required | About 10 minutes per dish, added onto the end of cooking, plus a 5-minute Sunday check of what’s already in the fridge |
| Difficulty | Easy — no cooking skill involved, just a sequence to follow |
| Cost range | $25–55 for containers, labels, and a fridge thermometer; $40–70 more for an optional vacuum sealer |
| What you’ll need | Shallow airtight containers, freezer-safe bags, painter’s tape and a marker, an appliance thermometer |
| Who this is for | Anyone whose meal prep goes soggy, sour, or unrecognizable before the week is over |
The 20 Minutes Most Storage Advice Skips
Most storage advice stops at “use an airtight container,” which skips the step that actually determines whether food stays good: what happens to it between the stove and the fridge.
Hot food sealed immediately keeps releasing steam inside a closed container. That steam has nowhere to go, so it condenses on the lid and drips back down, diluting sauce and turning anything that was supposed to stay crisp — rice, greens, a crust — soft within a day. It’s a food-safety issue, too, not just a texture one: cooked food needs to get below 40°F within 2 hours of cooking, or 1 hour if the kitchen’s especially warm, since bacteria multiply fastest between 40°F and 140°F. A large mass of hot food sealed in a deep container can take far longer than that to cool all the way through, even sitting inside a cold fridge.
The fix is a short window — cooling just enough to stop active steaming, in a container shallow enough to actually cool in time — not full room-temperature cooling, and not straight into a sealed container either.
The Containers Worth Buying (and What to Skip)
Four things make the real difference, and none of them is a fancy container system.
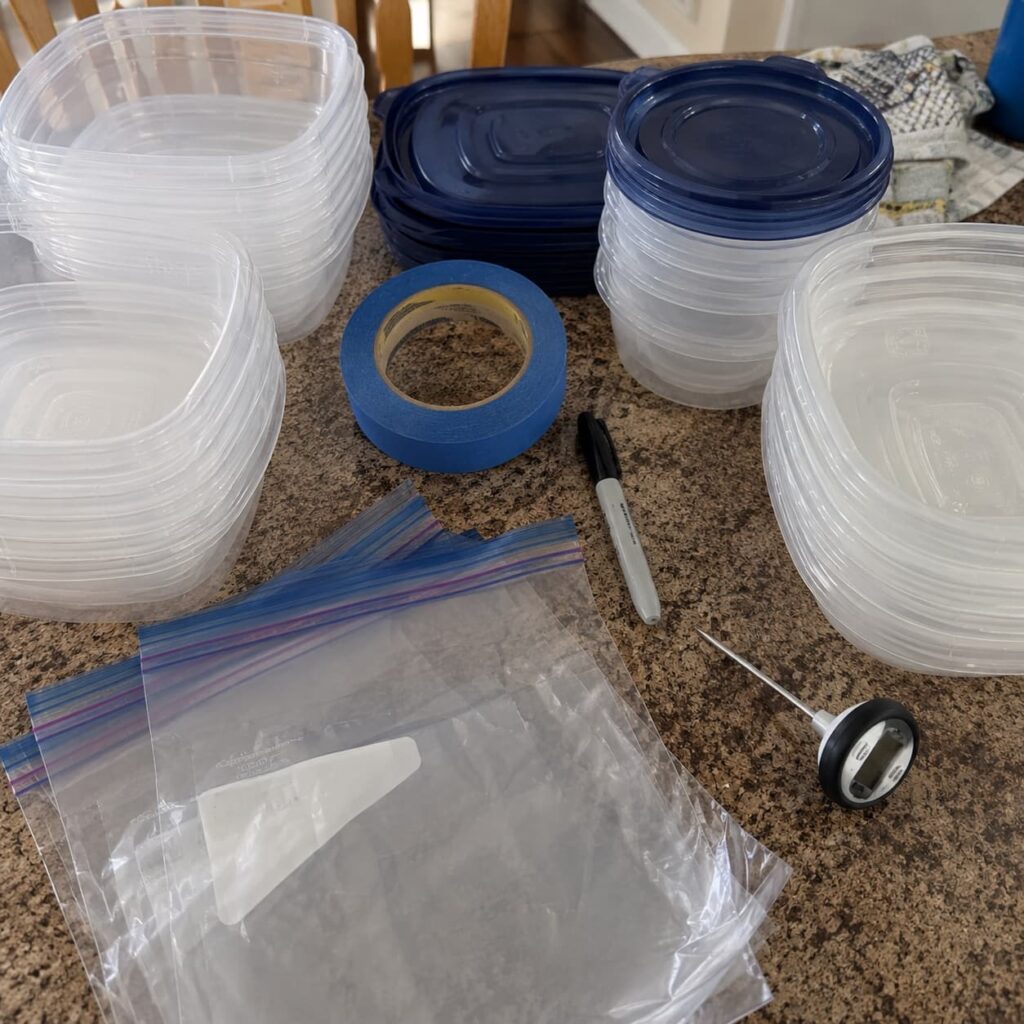
Shallow airtight containers, ideally 2 inches deep or less — this is what lets hot food cool fast enough to stay safe, and it’s the detail most container sets don’t advertise. A ten-piece set with lids runs $15–30 at any big-box store.
Freezer-rated bags or containers, specifically labeled for freezer use. Some thinner containers built for fridge storage crack at freezer temperatures. $4–6 for a box of bags.
Painter’s tape and a permanent marker, or a wet-erase marker if everything’s glass — under $5 total, and the only thing standing between a system that works and a mystery container three weeks from now.
An appliance thermometer for the fridge itself, about $6–10. Fridge dials are approximate, and a fridge actually running at 45°F instead of 40°F or below quietly shortens the safe storage window without anything looking wrong.
Worth adding once the basics are working: an entry-level vacuum sealer, $40–70, which pulls the air out of anything freezer-bound and roughly doubles how long it holds its texture. Skip it until freezing becomes a regular habit rather than a one-off.
Cool It, Portion It, Label It, Freeze What’s Left
Stage 1 — Cool it before it’s sealed
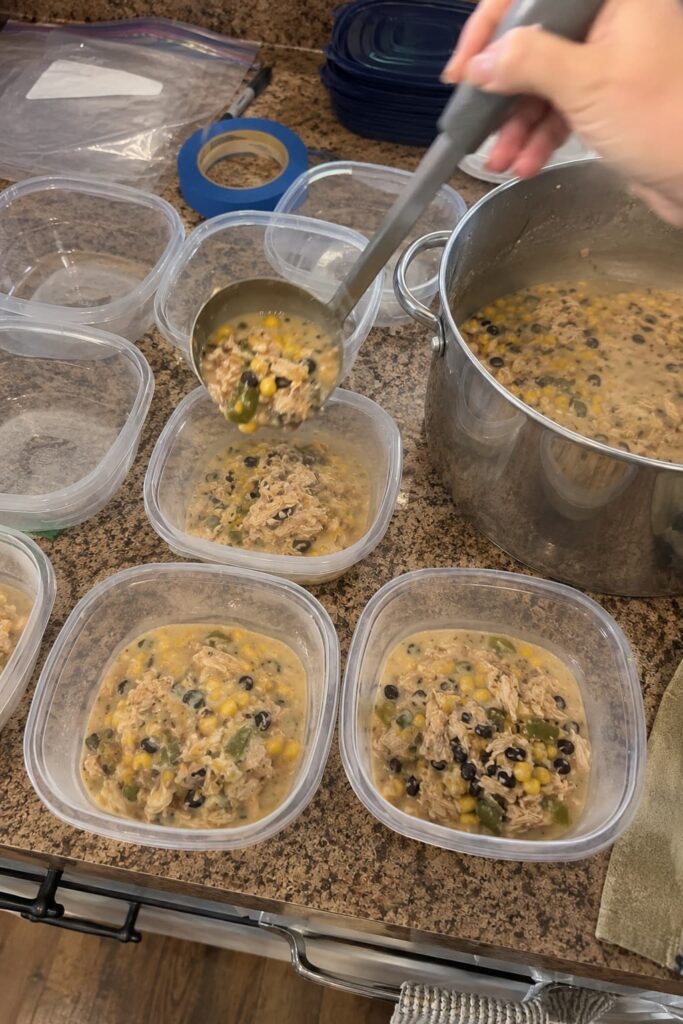
Get hot food into something shallow — 2 inches deep or less — right away. For soup, chili, or anything ladled, this can happen in the same motion as portioning: fill individual shallow containers straight from the pot, which cools the food and divides it into servings at once. For a baked dish, it’s often already shallow in its own pan; let it sit uncovered on the counter until steam stops visibly rising, then portion and seal.
Get everything into the fridge within 2 hours of cooking, 1 hour if the kitchen’s running hot. The mistake here is sealing the lid while it’s still fogging up; that trapped steam is exactly what shows up as condensation the next morning, dripping back into the food.
Stage 2 — Separate what shouldn’t touch
If Stage 1 didn’t already portion things out, divide into single-serving containers now — already-portioned food chills faster than one large container and is easier to grab on a rushed morning. Keep sauces and dressings in their own small lidded container rather than trusting compartment walls alone, which thin liquid seeps past.
The mistake at this stage is pre-tossing a grain bowl or salad with its dressing. Acid and oil start breaking down greens and grains within a few hours; by day two, it’s mush.
Stage 3 — Label it honestly
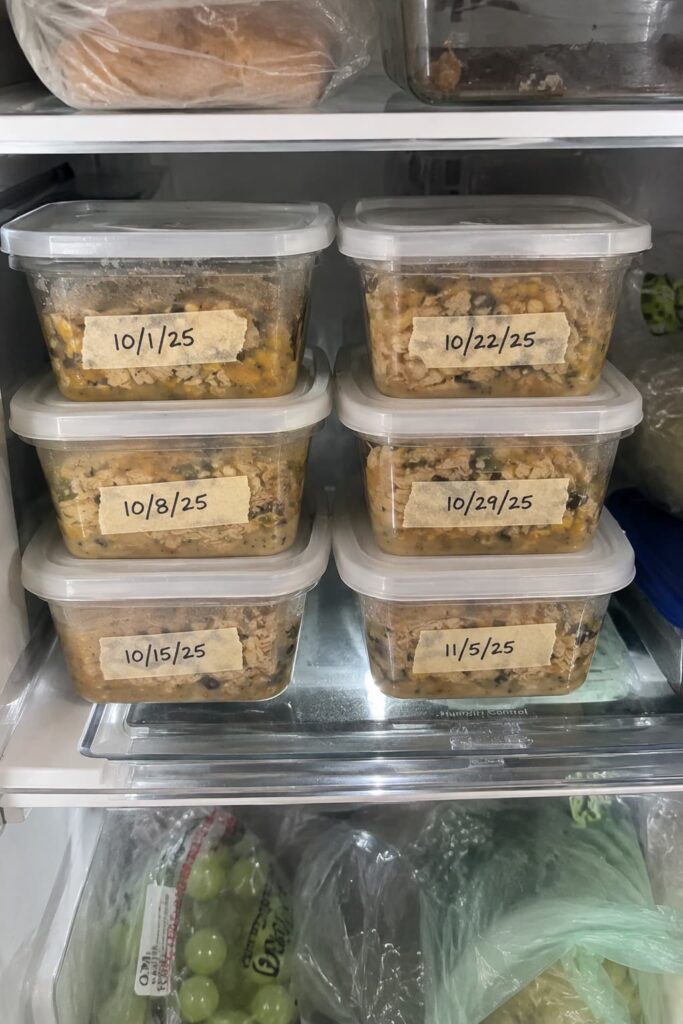
Write the dish name and the date made — not just “leftovers” — directly on tape or with a wet-erase marker. Place new containers behind or under older ones so nothing gets buried and forgotten. Anything more than 4 days past its label gets tossed, no exceptions; that’s USDA’s window for cooked food, not a suggestion.
The mistake here is stacking the newest batch in front, which is how a container from two weeks ago survives long enough to become unrecognizable.
Stage 4 — Freeze what won’t be eaten in time
Anything that won’t get eaten inside that 3-to-4-day window should go in the freezer the same day it’s made, not on day 3 once it’s already borderline. Leave about ½ to 1 inch of headspace in anything freezer-bound with liquid in it, since liquid expands as it freezes. Lay freezer bags flat until solid, then stack them — they freeze faster flat and store more compactly once rigid.
The mistake here is freezing one large block instead of flatter, smaller portions. A big mass takes so long to freeze through that the ice crystals forming inside are larger and coarser, which is what makes texture mushy on thawing. Frozen at 0°F, food stays safe indefinitely, but for texture, plan on eating most cooked meals within 2 to 3 months, or up to 6 with a vacuum seal.
What’s Actually Happening in the Fridge by Wednesday
Condensation is pooling under the lid and dripping back onto the food. This means it went in too hot. For what’s already sealed, wipe the lid dry and reseal, and plan to eat that portion sooner rather than later — the extra moisture speeds everything up.
A rice dish smells slightly off by day three, even though it’s been refrigerated the whole time. Rice can carry bacterial spores that survive cooking, and if it sat out for even part of that first hour or two, those spores get a chance to activate. Reheating won’t undo it. Get rice into the fridge faster than almost anything else being prepped, and treat day three as its real limit, not day four.
Sauce has migrated into everything else in a compartmentalized container. Thin liquid seeps past compartment walls that aren’t sealed at the base. A small separate lidded container for sauce fixes this more reliably than the compartments themselves.
White, frosty patches show up on something frozen in a container with visible air space. Press plastic wrap directly onto the food’s surface before sealing the lid — that removes the air pocket between food and lid where freezer burn starts.
A container from two weeks ago turns up in the back. The rotation system broke down. A standing habit — checking every date in the fridge right before the next prep session — is what actually catches this, not good intentions.
Cucumber, greens, or tomato added early have gone slimy or watery by day two. Cut produce keeps releasing water into a sealed container over time. Add anything high in water content the morning it’s eaten, not at prep time.
Storage for Smaller Kitchens, Bigger Batches, and Tighter Budgets
A small fridge with limited shelf space: Prioritize low, flat containers over tall single-serving ones — a shelf packed with tall containers is what forces stacking, and stacking blocks the cold air circulation that keeps everything at temperature.
Cooking for a household, not just one person: Buy containers in a single matching set so every lid fits every base. Mismatched lids are the single most common reason a large-batch system falls apart — someone always grabs the wrong one, and it doesn’t seal.
Tight budget: Skip the vacuum sealer and the matching container set. Reused jars and mismatched containers work fine as long as the lid still seals tightly. The one purchase worth making regardless is the appliance thermometer — freshness starts with actually being at 40°F or below, and most people are guessing.
Cooking for young kids, older adults, or anyone immunocompromised: Tighten the window to 3 days instead of 4, and don’t rely on smell as the test — some of the bacteria that matter most don’t announce themselves that way.
A rental with a small freezer: Prioritize a tight seal over volume — press all the air out by hand if a vacuum sealer isn’t in the budget. A small freezer that gets opened often swings in temperature more, which speeds up freezer burn on anything that isn’t well sealed.
Questions Worth Settling Before You Seal the Lid
How long does meal prep actually stay fresh in the fridge? 3 to 4 days for most cooked dishes, per USDA guidance. Rice-based dishes and anything with dairy or seafood are safer closer to 3.
Can I put hot food straight in the fridge? In small, shallow portions, yes. The real concern is sealing a large hot mass tightly, which traps steam and slows cooling for everything nearby, not the temperature of the fridge itself.
Is it safe to freeze meal prep in regular plastic containers? Only if they’re labeled freezer-safe. Some thinner containers built for fridge use crack at freezer temperatures. Leave headspace for any liquid, since it expands as it freezes.
Why does my meal prep taste watery by Thursday? Condensation. The food was sealed before it finished releasing steam, and that moisture had nowhere to go but back into the food.
Do I need to let food cool completely before refrigerating it? No. Full room-temperature cooling keeps food in the 40-to-140°F danger zone longer than necessary. About 15 to 20 minutes, enough to stop active steaming, is enough before sealing and refrigerating.
What’s the fastest way to cool a big pot of soup or chili? Portion it into shallow containers instead of leaving it in the pot. A deep pot of hot liquid can take hours to cool through the middle, well past the safe window.
Can I reuse takeout containers or jars for storage? Yes, as long as the lid still seals tightly and the container isn’t cracked or warped. Freshness depends on the seal and the portioning, not on whether it was purpose-bought.
The Twenty-Minute Habit
None of this is complicated once it’s a habit instead of a decision made fresh every time. The whole sequence — shallow container, a few minutes uncovered, a portion, a label — adds maybe ten minutes onto the end of cooking, and it’s those ten minutes that decide whether Thursday’s lunch tastes like it was made Thursday or like it’s been sitting since Sunday. Start with just the cooling step if the rest feels like a lot. It’s the one that matters most, and the labels and rotation habit tend to follow once the food itself is actually still good enough to bother labeling.
