
Korean Ground Beef Rice Bowls for Meal Prep
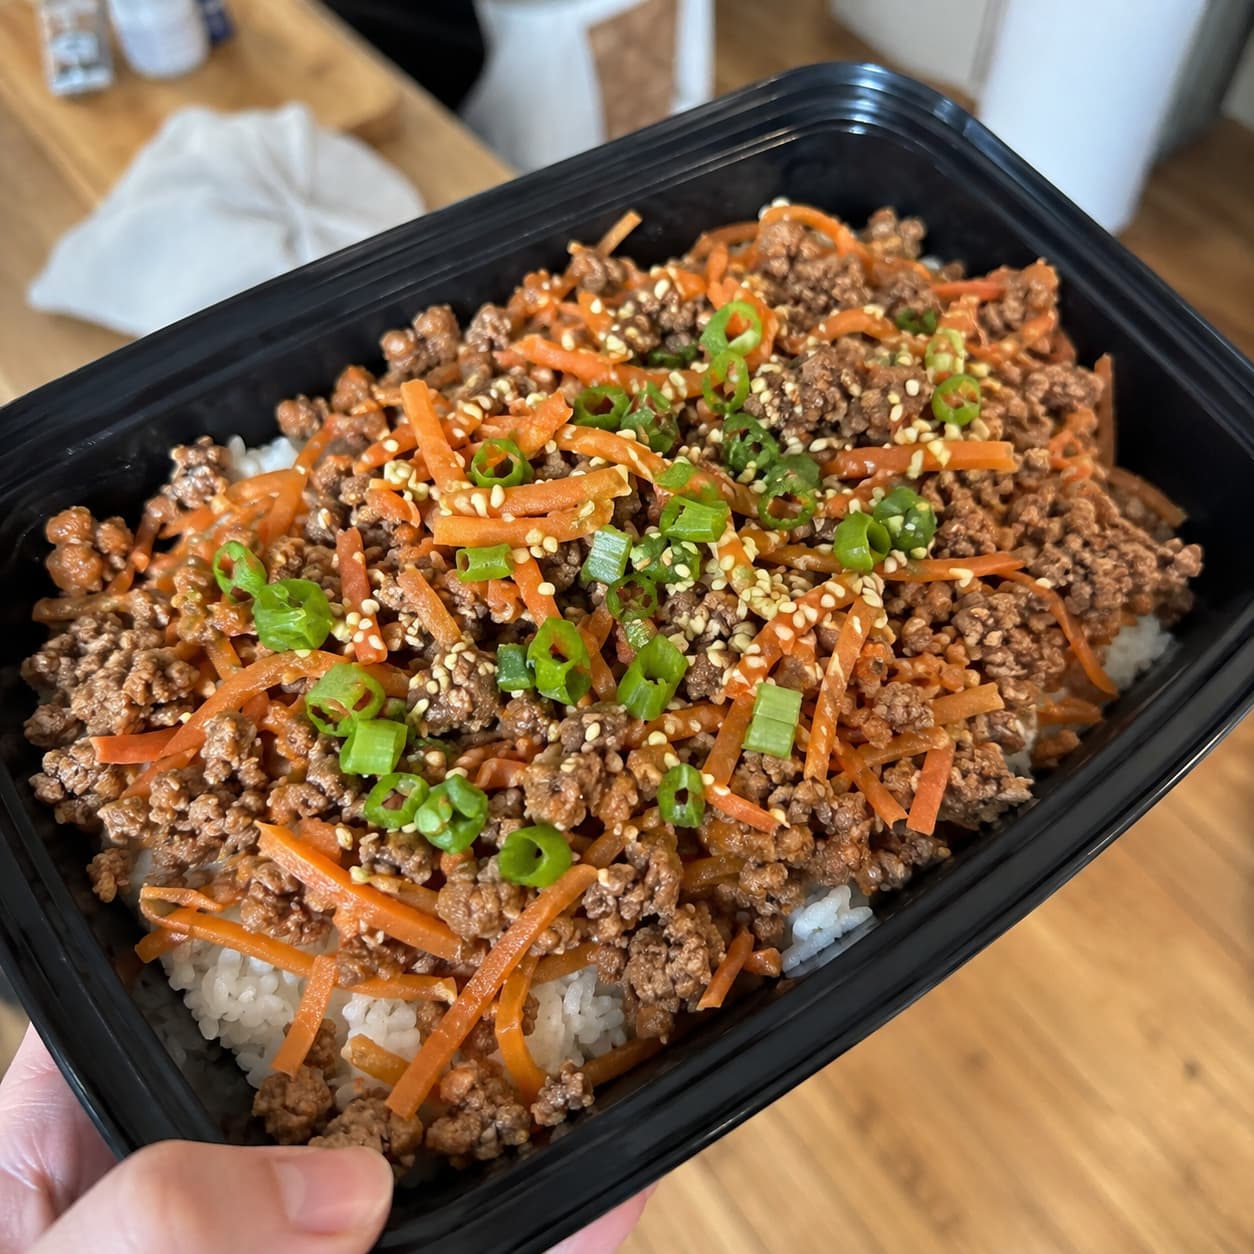
Ask around and most people can name the fast, cheap ground beef bowl recipe that’s taken over group chats and recipe sites the last few years — soy sauce, brown sugar, ginger, a fried egg on top, done in fifteen minutes. It’s genuinely good for a weeknight. It’s a mixed bag for meal prep, and the reason comes down to something the original recipe never had to think about: that thin, syrupy glaze is built to be eaten the moment it hits the pan, not to sit in a container for four days. Cold and reheated, a sauce this thin either soaks completely into the rice, leaving dry beef and mushy grains, or breaks into an oily sheen that never fully redistributes no matter how hard you stir it.
The fix is building a sauce with more body from the start — a touch of cornstarch changes everything here — so it clings to the beef instead of running off, holds its texture through a reheat, and keeps the rice underneath from turning gluey. Everything else about the dish stays close to the original: same soy-and-ginger backbone, same fast cook time, same fried egg finish if you want it. Just a sauce built for Thursday, not only for tonight. This makes four bowls, keeps 3 to 4 days refrigerated, and comes together in about 25 minutes.
Quick Facts
| Prep Time | 10 minutes |
| Cook Time | 15 minutes |
| Total Time | 25 minutes |
| Servings | 4 bowls |
| Difficulty | Easy |
| Storage Life | 3 to 4 days refrigerated; up to 3 months frozen (beef and rice, not the egg) |
What the Fifteen-Minute Version Skips, and Why It Matters Here
The classic version of this dish is built entirely around being eaten fresh: a thin soy-brown sugar glaze goes into a hot pan with browned beef, reduces for a minute or two, and gets served immediately while it’s still glossy and just thick enough to coat. That thinness is exactly what makes it fast — there’s nothing to thicken, nothing to wait on. It’s also exactly what breaks down in a container. A thin glaze has almost no body to hold onto the beef once everything cools, so it either migrates straight down into the rice or separates into a thin, oily layer that pools at the bottom.
A cornstarch slurry — just a teaspoon of cornstarch dissolved in a splash of the sauce liquid before it hits the pan — fixes the mechanic without changing the flavor. Cornstarch thickens by absorbing liquid and swelling as it heats, which gives the sauce enough body to cling to the beef instead of running off. That same thicker sauce also acts as a barrier between the beef and the rice in the container, which is the specific thing that keeps rice from turning gummy by day three.
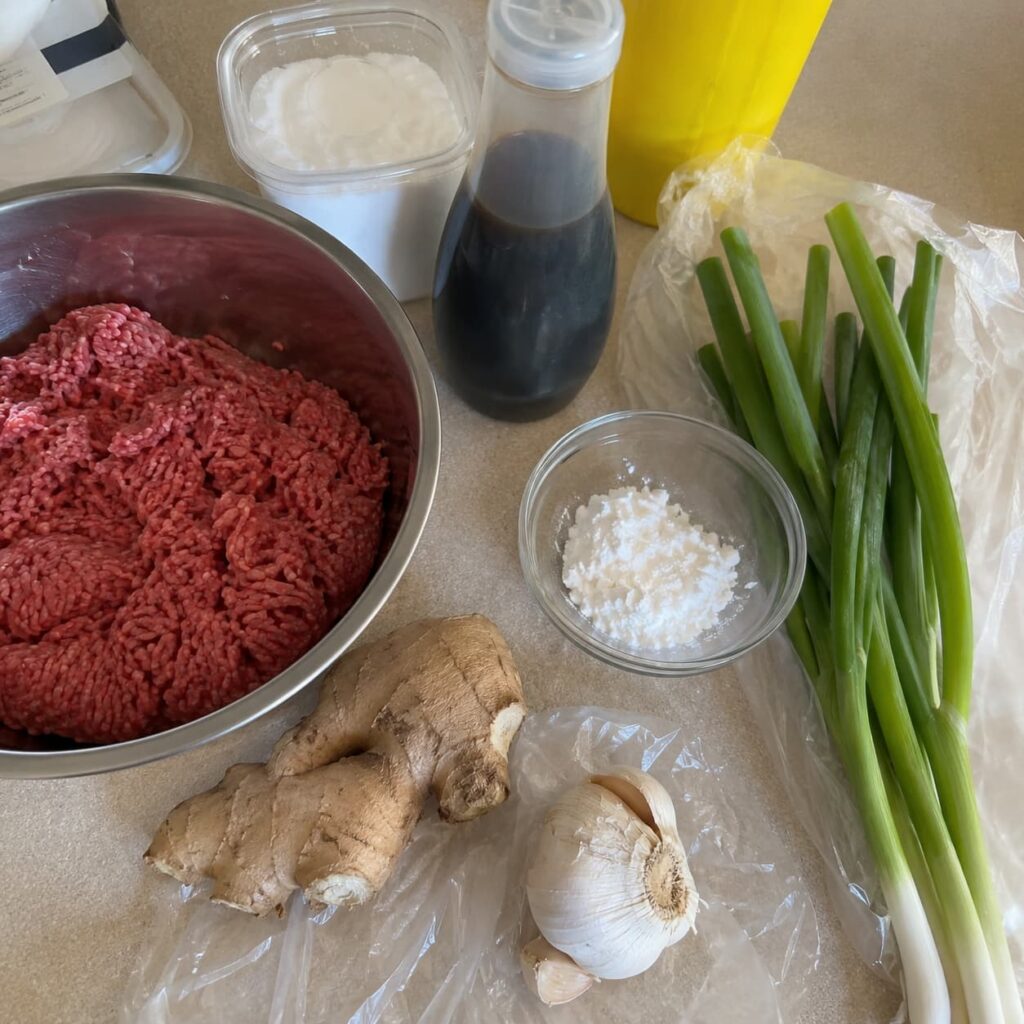
Ingredients
For the beef:
- 1½ lbs 90/10 ground beef (leaner beef matters more here than in most recipes — 80/20’s extra fat renders into the sauce and thins it right back out, undoing the cornstarch’s work)
- 1 tbsp neutral oil (avocado or vegetable)
- 4 garlic cloves, minced
- 1 tbsp fresh grated ginger (about a 1-inch piece)
- 3 green onions, thinly sliced, whites and greens separated
For the sauce:
- ⅓ cup low-sodium soy sauce
- 3 tbsp brown sugar, packed
- 1 tbsp toasted sesame oil
- 1 tsp cornstarch, dissolved in 1 tablespoon cold water before use
- ¼ tsp red pepper flakes, optional
For the bowls:
- 1½ cups long-grain white rice, rinsed until the water runs mostly clear (short-grain or sushi rice works too and holds up slightly better over several days, since it’s naturally stickier and less prone to drying out on reheat)
- 2¼ cups water
- 2 cups shredded carrots
- 2 cups shredded or thinly sliced cucumber
- Sesame seeds, for topping
- 4 large eggs, optional, fried fresh the day each bowl is eaten
What You’ll Cook This In
- A 12-inch skillet, for the beef and sauce
- A 2-quart saucepan with a lid, for the rice
- A small bowl or cup, for dissolving the cornstarch slurry before it goes into the pan
- Four 3- to 4-cup meal prep containers, ideally with a small divider or separate lid for the cucumber, since raw cucumber releases water and turns the whole bowl watery if it sits mixed in from Sunday
The One Ingredient Order That Matters
Dissolve the cornstarch in cold water before anything else touches heat, and keep it separate from the rest of the sauce ingredients until the pan is ready for it. Cornstarch mixed directly into a warm or hot liquid clumps instead of dissolving smoothly, and once it clumps, stirring harder doesn’t fix it — the slurry has to be built cold, then added to the hot pan at the right moment.
Grate the ginger instead of mincing it if the pieces need to disappear into the sauce rather than showing up as visible bits — a microplane or the small holes of a box grater works well for this.
From Raw Beef to Sealed Containers
Start the rice — 2 minutes to get going. Bring the rinsed rice and water to a boil in the saucepan, then cover and drop to low. It needs about 15 minutes total, which lines up closely with the beef.
Brown the beef — 6 minutes. Heat the oil in the skillet over medium-high. Add the ground beef and break it into small crumbles as it cooks, about 5 to 6 minutes, until no pink remains and it’s developed some browned bits on the bottom of the pan. Drain any excess fat — even with 90/10, there’s usually a tablespoon or two, and leaving it in dilutes the sauce that’s about to go in.
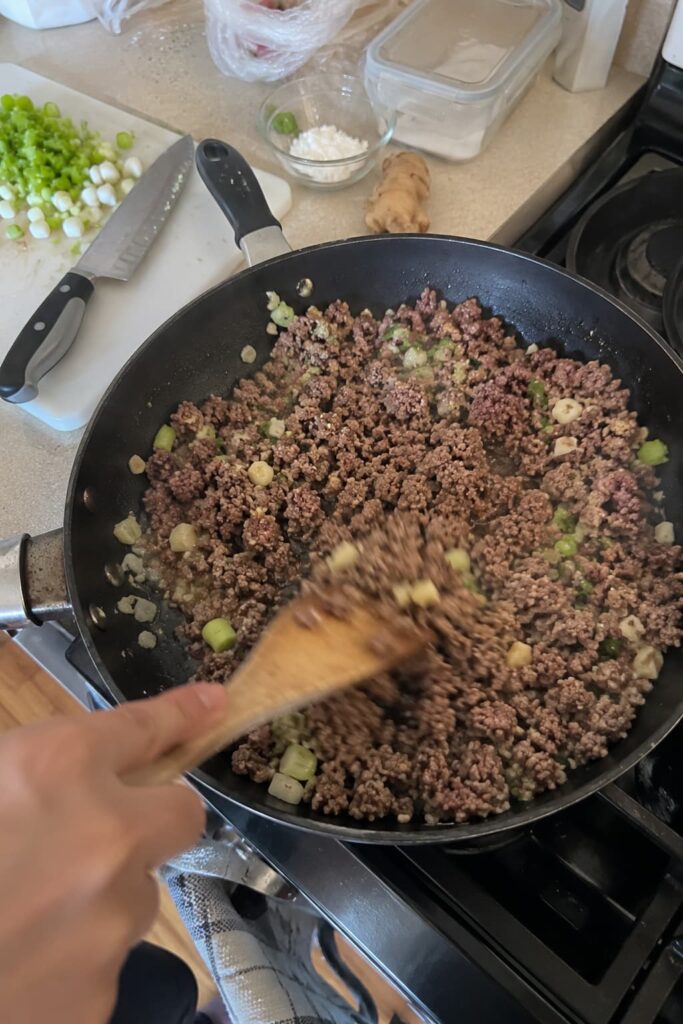
Add aromatics — 30 seconds. Reduce the heat to medium. Add the garlic, ginger, and the white parts of the green onions, and cook just until fragrant — any longer and the garlic starts to bitter.
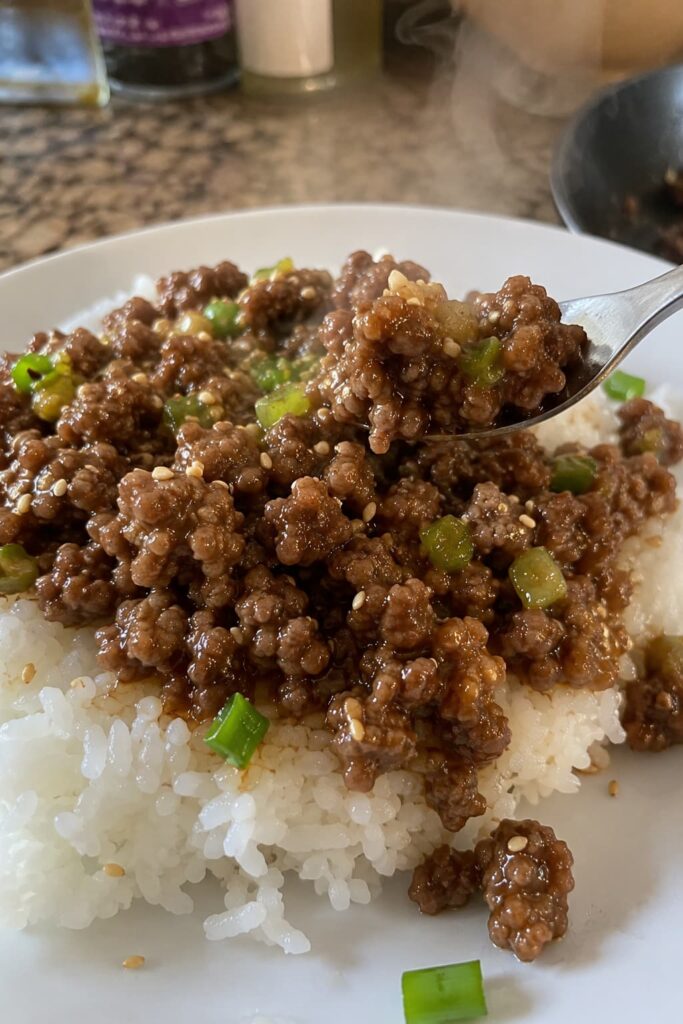
Build and thicken the sauce — 3 minutes. Pour in the soy sauce, brown sugar, and sesame oil, stirring to combine with the beef. Bring it to a simmer, then stir the cornstarch slurry once more (it settles fast) and pour it in, stirring constantly. The sauce will go from thin and watery to glossy and coating within about 60 to 90 seconds — pull the pan from the heat as soon as it thickens, since cornstarch sauces can turn gluey if they simmer too long past that point.
Rest the rice, off heat — 5 minutes. Once the rice has absorbed the water, turn off the heat and let it sit covered for 5 minutes before fluffing with a fork.
Assemble — 8 minutes. Divide the rice among the four containers, about ¾ cup each. Top with the beef and sauce, then the shredded carrots. Keep the cucumber in a small separate container or on its own side of a divided container — it releases water over a few days and turns soggy if it sits directly against warm rice from the start. Sprinkle sesame seeds and the green parts of the onions over each bowl.
Storing, Freezing, and Reheating Without Losing the Sauce
Cool the beef and rice to room temperature before sealing, no more than 2 hours after cooking — USDA guidance advises against leaving cooked food out longer than that, and sealing it warm traps steam that softens the rice further than it needs to.
These bowls keep 3 to 4 days in the refrigerator. For longer storage, freeze the beef and rice together for up to 3 months — the sauce’s cornstarch base actually freezes and reheats more predictably than a thin glaze would, since it’s already got the structure needed to hold together through a freeze-thaw cycle. Keep the cucumber and any fried egg out of anything frozen; both turn watery or rubbery from freezing.
Reheat from the fridge, in the microwave. Cover and heat at 70% power for 90 seconds, stir, then continue in 30-second bursts until steaming throughout.
Reheat from the fridge, on the stove. A skillet over medium-low with a teaspoon of water, covered, for 4 to 5 minutes, keeps the sauce from tightening up the way a hard microwave blast can.
Reheat from frozen. Thaw overnight in the fridge and reheat the same way, or microwave from frozen at 50% power for 4 to 5 minutes, stirring every 90 seconds, until steaming through.
Add the cucumber and a freshly fried egg, if using, only after reheating — both are meant to go on right before eating, not to survive a trip through the microwave with everything else.
Four Ways to Change the Bowls
Spicier: Double the red pepper flakes to ½ teaspoon, or stir in a teaspoon of gochujang along with the soy sauce for a deeper, fermented heat instead of just surface spice.
Different protein: Swap the beef for ground turkey or ground chicken at the same weight — cut the cook time in Step 2 to about 5 minutes, since poultry cooks through faster than beef.
Lower-carb: Swap the rice for 4 cups riced cauliflower, sautéed in a dry skillet for 5 to 6 minutes instead of simmered, since it releases its own water as it cooks.
Extra vegetables: Add a cup of steamed broccoli or snap peas to the bowl alongside the carrots — both hold their texture well through a few days of reheating, unlike the cucumber, which needs to stay separate and raw.
Korean Beef Bowl Questions, Answered
Why does my sauce taste like cornstarch instead of thickening smoothly?
The slurry was added to liquid that was already too hot, or it wasn’t stirred right before adding — cornstarch settles to the bottom of its water within a minute or two. Stir it again immediately before it goes into the pan, and add it to a simmer, not a hard boil.
Can I use a store-bought Korean BBQ sauce instead of making the sauce from scratch?
Yes, though most bottled versions are built thin like the original fifteen-minute recipe. Stir in the same cornstarch slurry — 1 teaspoon cornstarch in 1 tablespoon cold water — near the end of cooking to give a bottled sauce the same meal-prep-ready body.
Why is my rice mushy by day three even though I cooled everything properly?
The cucumber was likely mixed in from the start instead of kept separate. Raw cucumber releases water steadily over a few days regardless of how well the rest of the bowl was cooled and sealed.
Is it safe to reheat rice that’s been in the fridge a few days?
Yes, as long as it was cooled within 2 hours of cooking and gets reheated until steaming hot all the way through, not just warmed at the edges.
Can I add the fried egg ahead of time to save a step?
It’s better fried fresh each morning — a cold, reheated fried egg turns rubbery and the yolk sets hard, losing the texture that makes it worth adding in the first place.
How long does this last in the freezer?
Up to 3 months for the beef and rice together. Skip freezing the cucumber and any fried egg; both should be added fresh regardless of whether the base is coming from the fridge or the freezer.
Can I double this for a bigger batch?
Yes — brown the beef in two batches rather than overcrowding one pan, since a packed skillet steams the beef instead of browning it, and use a 4-quart pot for the rice so it has room to simmer without boiling over.
The Sauce Is the Only Thing That Changed
Everything that makes this dish fast and craveable on a Tuesday night is still here — same soy and ginger, same quick sear, same fried egg if that’s how it gets eaten. The only real difference is a teaspoon of cornstarch standing between a sauce built to be eaten in the next five minutes and one built to survive until Thursday. Once that’s part of the method, it’s worth remembering for any other thin glaze headed for a meal prep container, not just this one.
