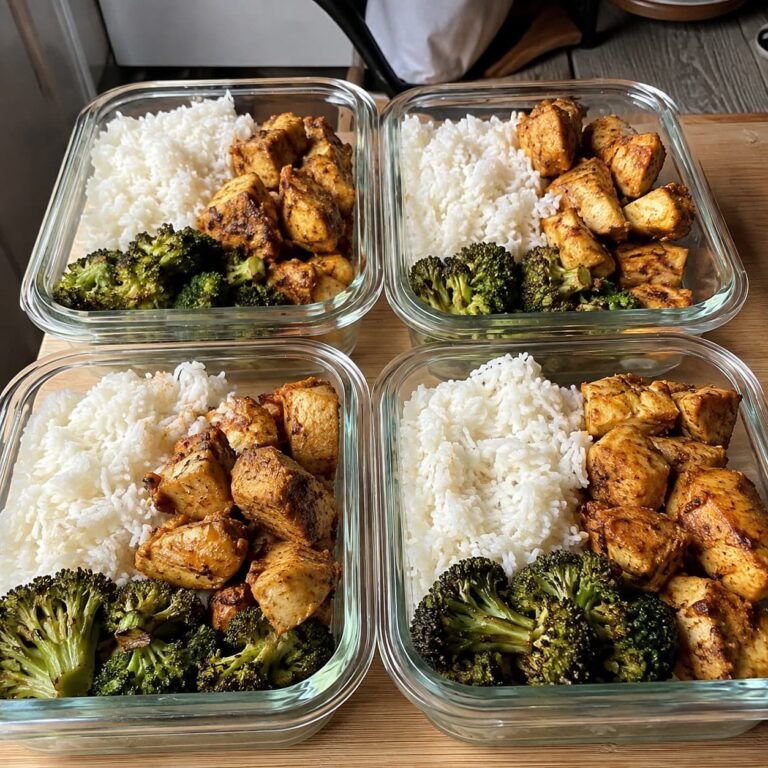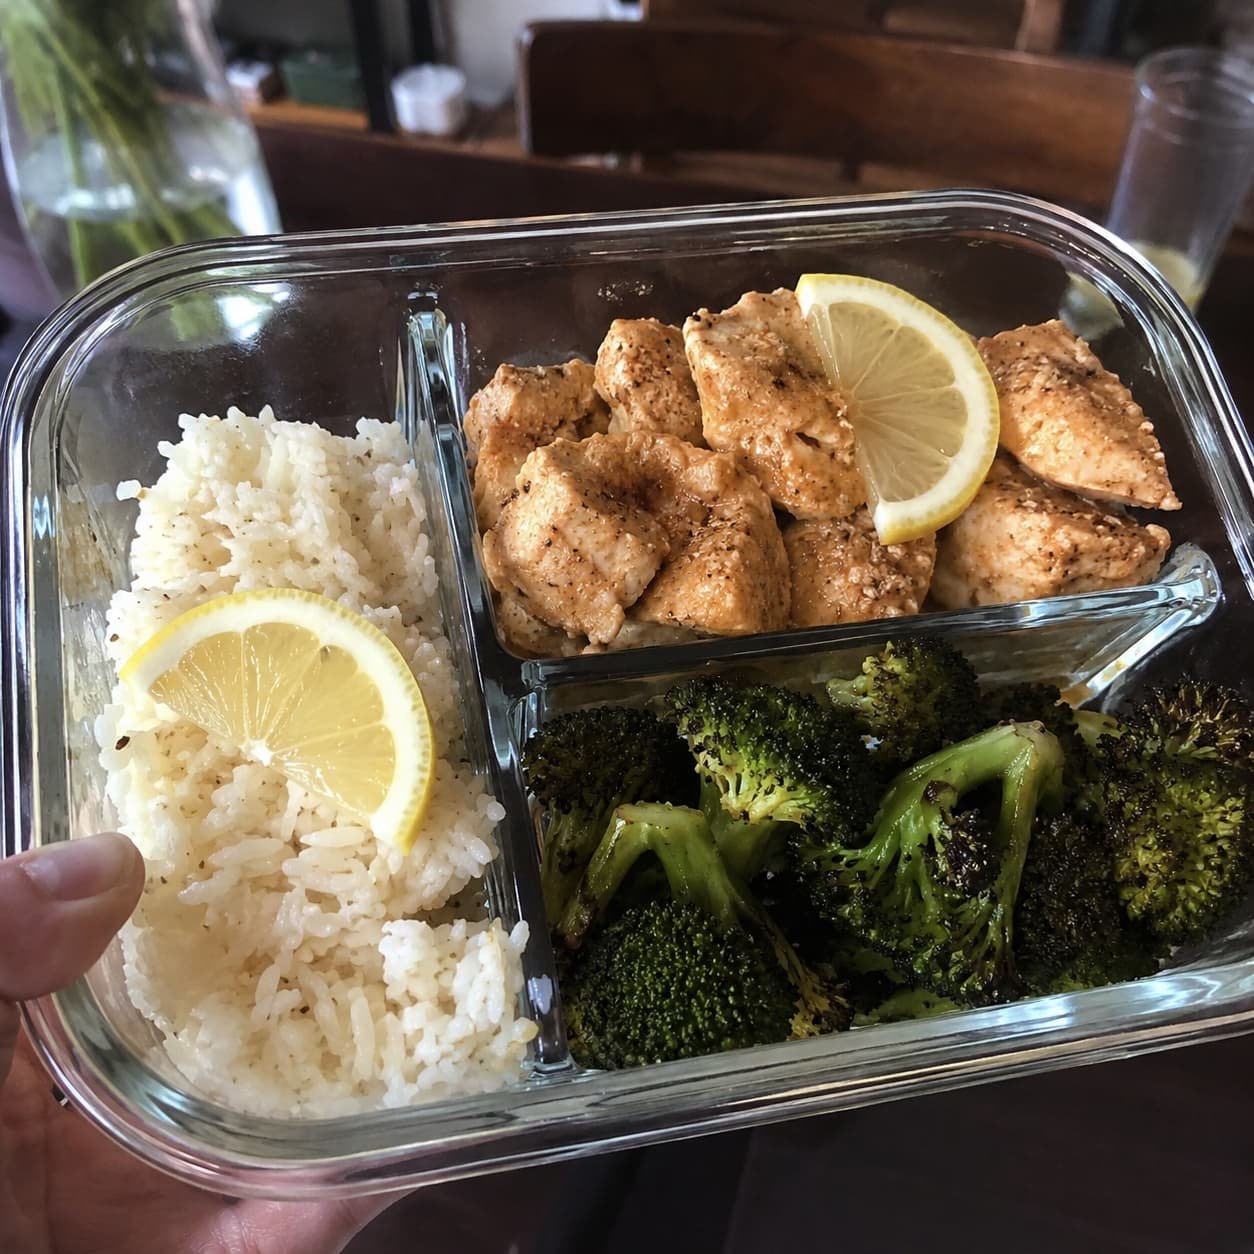
Garlic Butter Chicken and Rice Meal Prep Bowls
Garlic butter chicken sounds like a Tuesday dinner, not something you’d want to eat four days in a row — but it holds up better than most people expect, if it’s built in the right order. The version that goes wrong starts with garlic dropped into a pan still screaming hot from searing, then a sauce simmered too long until it separates into little pools of grease sitting on top of the rice. That’s the bowl that looks great going into the container on Sunday and tastes like a letdown by Wednesday.
The fix isn’t a different recipe. It’s changing two moments: when the garlic goes in, and how the butter gets added at the end. Get those right and the sauce clings instead of pooling, the chicken stays juicy through a microwave reheat, and the rice holds its texture instead of turning to paste. This makes four full bowls, keeps four days in the fridge, and reheats in under three minutes — count on about 45 minutes start to finish, most of it hands-off while the rice cooks.
The Numbers Before You Start Cooking
| Prep Time | 15 minutes |
| Cook Time | 30 minutes |
| Total Time | 45 minutes |
| Servings | 4 bowls |
| Difficulty | Easy |
| Storage Life | 4 days refrigerated; up to 3 months frozen (chicken and rice) |
Why the Butter Waits Until the End
Most garlic butter chicken recipes treat butter as one ingredient added at one moment, and that habit causes both of this dish’s common failures. Butter is roughly 80% fat, with milk solids and water making up the rest, and those milk solids scorch around 300°F — well below the heat a good sear needs. That’s why the chicken sears in olive oil, not butter; butter only shows up once the pan has cooled down.
Garlic runs on an even shorter clock. Its natural sugars go from raw to fragrant to bitter in under a minute once they hit real heat. Thirty to forty-five seconds over medium-low cooks out the rawness without tipping into burnt — any hotter or longer, and the whole batch tastes scorched, with no fixing it after the fact.
The last move — pulling the pan fully off the burner before swirling in the last two tablespoons of cold butter — is what makes the sauce cling to the chicken instead of separating into grease. Butter melted slowly, off direct heat, forms a stable, glossy sauce. Butter melted over an active flame breaks apart and doesn’t fully recombine, even after a trip through the microwave four days later.
What Goes In, and Why Each Part Earns Its Place
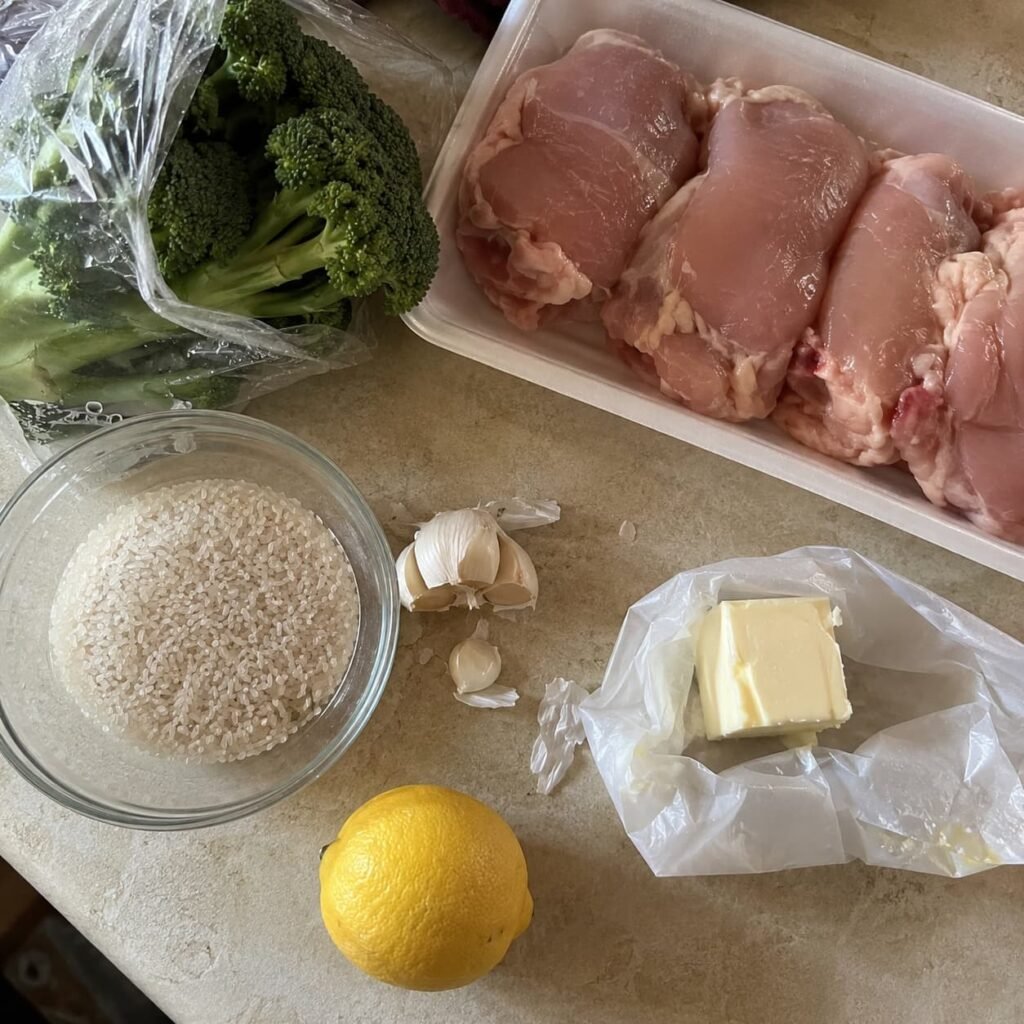
Chicken
- 1½ lbs boneless, skinless chicken thighs, cut into 1-inch pieces (thighs carry enough fat to stay juicy through a reheat; breast works too — cut those pieces slightly larger, about 1¼ inches, and pull at 160°F instead of 165°F, since carryover heat finishes the job and breast dries out fast past that mark)
- 1 tsp kosher salt
- ½ tsp black pepper
- ½ tsp smoked paprika
- 1 tbsp olive oil, for searing
Garlic butter sauce
- 4 tbsp unsalted butter, divided
- 6 cloves garlic, minced (about 2 tbsp)
- 1 lemon, divided (1 tbsp juice for the sauce; cut the rest into 4 wedges for serving)
- 2 tbsp chopped fresh parsley, divided (1 tbsp for the sauce; the rest for topping each bowl)
- ¼ tsp red pepper flakes (optional)
Rice
- 1½ cups long-grain white rice, rinsed until the water runs mostly clear (rinsing washes off surface starch, which keeps the grains separate instead of clumping after a few days of reheating; jasmine rice works well here — skip short-grain or sushi rice, which turn gummy fast)
- 2¼ cups low-sodium chicken broth (broth carries flavor through reheating in a way water doesn’t; using water instead means adding an extra ¼ tsp salt)
- ½ tsp salt
Broccoli
- 1 lb broccoli florets, cut into 1½-inch pieces (about 5–6 cups)
- 1 tbsp olive oil
- ¼ tsp salt
The Pans and Containers You’ll Actually Use
- A 12-inch skillet, stainless or nonstick, with a lid or a large plate to loosely cover it
- A 2-quart saucepan with a tight-fitting lid, for the rice
- A rimmed sheet pan, for the broccoli
- An instant-read thermometer — checking the actual temperature is what confirms the chicken is done; color alone tends to leave it either undercooked or, more often, overcooked well past 165°F
- Four 4-cup (32-oz) divided containers, glass or BPA-free plastic — about $12 to $18 for a 4-pack at most big-box or warehouse stores; the dividers keep the broccoli from turning soggy against the rice
Two Habits to Get Right Before the Stove Turns On
Cut the chicken into even 1-inch pieces before anything touches the heat. Pieces that are different sizes finish cooking at different times, so the small ones dry out while the big ones are still catching up to 165°F.
The other habit worth breaking: don’t drop the garlic into a pan that’s still hot from searing chicken. Pull the heat to medium-low first. The garlic’s ready when the kitchen smells sweet and toasty — if it turns sharp and the edges go dark within about 15 seconds of hitting the pan, it’s already burnt, and there’s no saving that batch. Wipe the pan out and start over with a lower flame.
From Raw Chicken to Sealed Containers
- Prep and preheat — 15 minutes. Preheat the oven to 425°F first; it’ll be most of the way there by the time prep is done. Pat the chicken dry, cut into even 1-inch pieces, and toss with the salt, pepper, and smoked paprika. Mince the garlic, rinse the rice under cold water until it runs mostly clear (about 30 seconds), and drain. Cut the broccoli into 1½-inch florets and toss on a sheet pan with the olive oil and ¼ teaspoon salt.
- Roast the broccoli — 18 minutes, hands-off. Slide the sheet pan into the oven and set a timer for 18 minutes — it’ll finish before the rice does, which is fine; broccoli holds well at room temperature for the few minutes it waits. While it roasts, move to the stovetop for the rice and chicken.
- Bring the broth to a boil — 5 minutes. In the saucepan, bring the broth and ½ teaspoon salt to a boil over medium-high heat.
- Simmer the rice — 15 minutes, covered. Stir in the rinsed rice, reduce the heat to low, and cover tightly. Simmer 15 minutes without lifting the lid — every peek lets out steam the rice needs to cook through evenly. Steps 5 and 6 happen during this window.
- Sear the chicken — 8 minutes, while the rice simmers. Heat the olive oil in the skillet over medium-high until it shimmers, about 1 minute. Add the chicken in a single layer, in two batches so the pieces sear instead of steam. Cook each batch 3 to 4 minutes per side — closer to 4 for the larger pieces — until deep golden and the internal temperature reads 165°F. Move each batch to a plate as it finishes. Crowding the pan drops the temperature and the chicken releases liquid instead of browning, which is why this runs in two batches, not one.
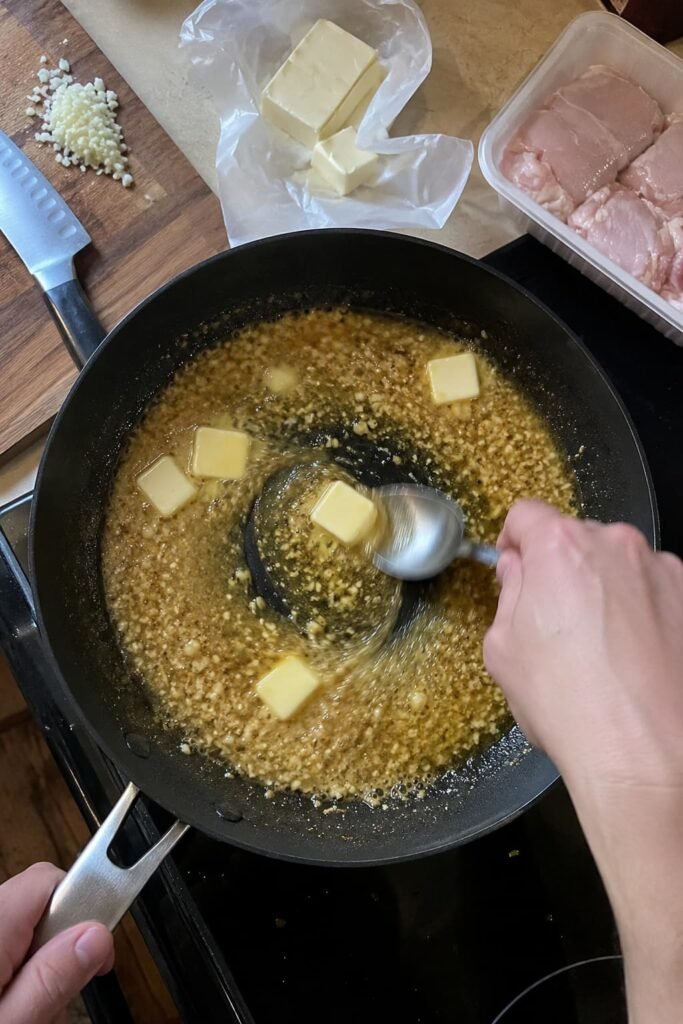
- Build the garlic butter — 2 minutes, still inside the rice’s simmer time. Reduce the heat to medium-low. Melt 2 tablespoons of the butter in the same skillet, then add the garlic and red pepper flakes. Cook 30 to 45 seconds, stirring constantly, until fragrant and just pale gold at the edges. Return the chicken and its juices to the skillet and toss 1 minute to coat.
- Rest the rice, off heat — 5 minutes. Turn off the heat under the rice and let it sit, covered, 5 minutes before fluffing. Step 8 happens during this window.
- Finish the sauce off heat — 1 minute. Pull the skillet completely off the burner. Add the remaining 2 tablespoons of cold, cubed butter, the lemon juice, and 1 tablespoon of the parsley. Swirl the pan gently until the butter melts into a glossy sauce that coats the chicken instead of pooling as fat at the edges. Doing this step over active heat is the single most common reason the sauce breaks.
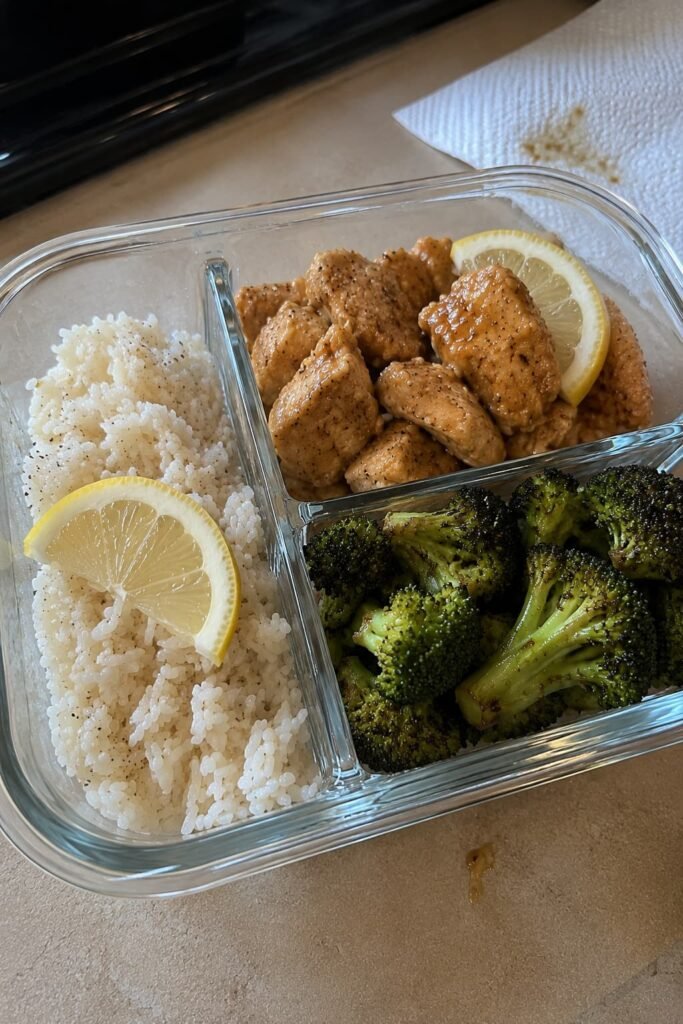
- Assemble — 5 minutes. Fluff the rice with a fork and divide it evenly among the four containers, about 1 cup per bowl. Top with the garlic butter chicken and roasted broccoli, and tuck a reserved lemon wedge into each container. Save the rest of the parsley to sprinkle on right before eating.
Storing, Freezing, and Reheating Without Breaking the Sauce
Divide the rice, chicken, and broccoli evenly across the four containers — about 1 cup rice, 5 ounces chicken, and 1 to 1½ cups broccoli each. Cool everything to room temperature before sealing, no more than 2 hours after it comes off the heat; sealing hot food traps steam, and that extra moisture is what makes rice turn slimy by day three.
These bowls keep 4 days in the refrigerator. For longer storage, freeze the chicken and rice for up to 3 months — skip freezing the broccoli, since it turns watery once thawed, and roast a fresh batch instead when you’re ready to eat.
Reheat from the fridge in the microwave, covered, for 1½ to 2 minutes at 70% power, stirring once, until steaming throughout. The stovetop keeps the sauce smoother: medium-low heat with 1 to 2 tablespoons of water or broth, covered, 4 to 5 minutes, stirring once. From frozen, thaw overnight and reheat the same way, or microwave from frozen at 50% power for 4 to 5 minutes, stirring every 90 seconds, until it reads 165°F.
Hold back the reserved parsley and lemon until serving. Cooked-in herbs fade in color and flavor by day three, and a fresh squeeze right before eating brings the sauce back to life.
Four Ways to Change These Bowls Up
- Spicier: Double the red pepper flakes to ½ teaspoon and swap the smoked paprika for hot smoked paprika in the chicken seasoning.
- Lower-carb: Swap the rice for 4 cups riced cauliflower. Sauté it in a hot, dry skillet 5 to 6 minutes instead of simmering — it releases water as it cooks, so it needs an uncovered pan and frequent stirring, not a lid.
- Different protein: Swap the chicken for 1½ lbs large shrimp (21–25 count), peeled and deveined. Sear just 60 to 90 seconds per side; pull them the moment they curl into a loose “C” — a tight “O” shape means they’ve gone past done.
- Different vegetable: Swap the broccoli for 1 lb trimmed green beans at the same 425°F and 18 minutes, or asparagus at 12 minutes, since thinner spears cook faster.
Garlic Butter Chicken Bowl Questions, Answered
Can I use chicken breast instead of thighs? Yes — cut pieces slightly larger, about 1¼ inches, and pull at 160°F instead of 165°F. Breast has less fat than thigh, so it dries out fast if it sits even a minute too long.
Why did my sauce turn greasy instead of glossy? The pan was still too hot when the cold butter went in. Pull it fully off the burner first — heat breaks the emulsion, not the butter itself.
Can I make this dairy-free? Swap the butter 1:1 for a plant-based butter stick, not a tub spread — the extra water in spreads keeps the sauce from coming together the same way.
How long do these bowls really last in the fridge? Four days, as long as they’re cooled and sealed within about 2 hours of cooking.
Can I double this recipe? Yes — sear the chicken in three batches instead of two, and use at least a 4-quart pot so 3 cups of dry rice has room to simmer without boiling over.
Is it safe to reheat rice? Yes, as long as it was cooled quickly and refrigerated within 2 hours the first time, and it’s reheated until steaming hot all the way through.
Can this last longer than a week in prep? Freeze it. The chicken and rice hold well in the freezer for up to 3 months — the fridge is only good for the 4 days above.
Worth the 45 Minutes
These bowls earn their spot in the fridge because the sauce doesn’t quit on day three the way most garlic butter recipes do. Keep the sequence even if everything else about the dish changes: sear in oil, bloom the garlic once the pan’s cooled down, finish with cold butter off the heat. That order is what separates a sauce that survives a microwave from one that turns into a puddle of grease by Wednesday’s lunch. Once it’s part of how the stove gets used, it carries over into any other butter sauce, meal-prepped or not — which is worth more than any single recipe.